Chatfuel is one of the popular tools to build Chatbot for Facebook Messenger without writing code.
Build a Chatbot Using Chatfuel and Connect the chatbot to Facebook Page.
When live chat is turn on, bots wont interrupter you live chat.
Now your Chat bots will give a reply to users. Your user can shift to live chat option at any time, this option will be provided by this tools.
How to Create a Chatfuel Account
Go to Chatfuel -> Click on “Get Started”

You will be directed to Facebook Login Page.
Log in to your Facebook account and give Chatfuel permission to receive your public profile and email address.
“Connect” your Facebook page to create a bot.
Click “Continue“
Now you’ll be redirected to Chatfuel dashboard
From Dashboard
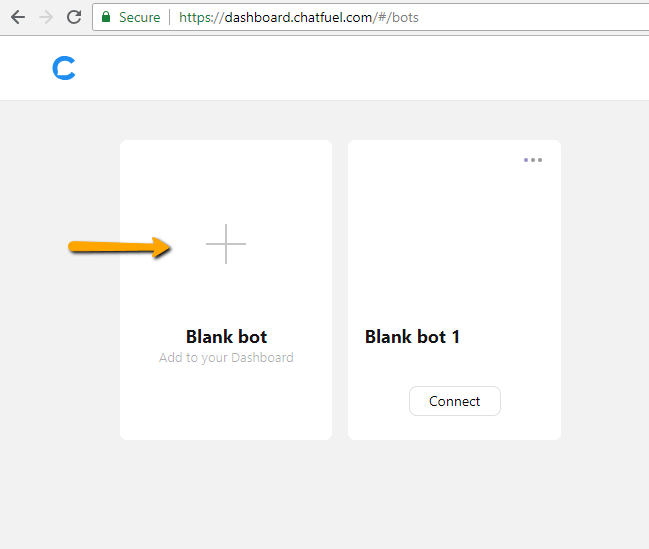
click on “Create from template“

Click “Blank bot” or choose from a template to create a chatbot

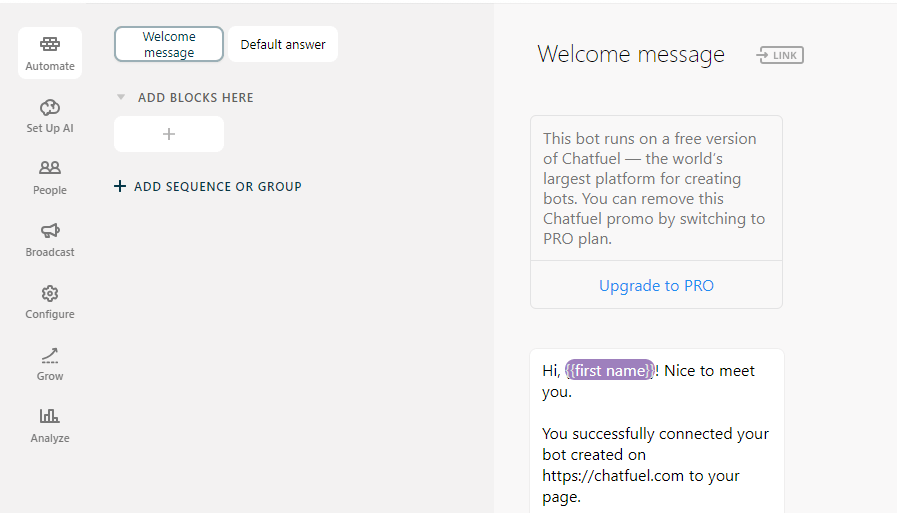
You will be logged in to chatbot and see a Welcome Message.

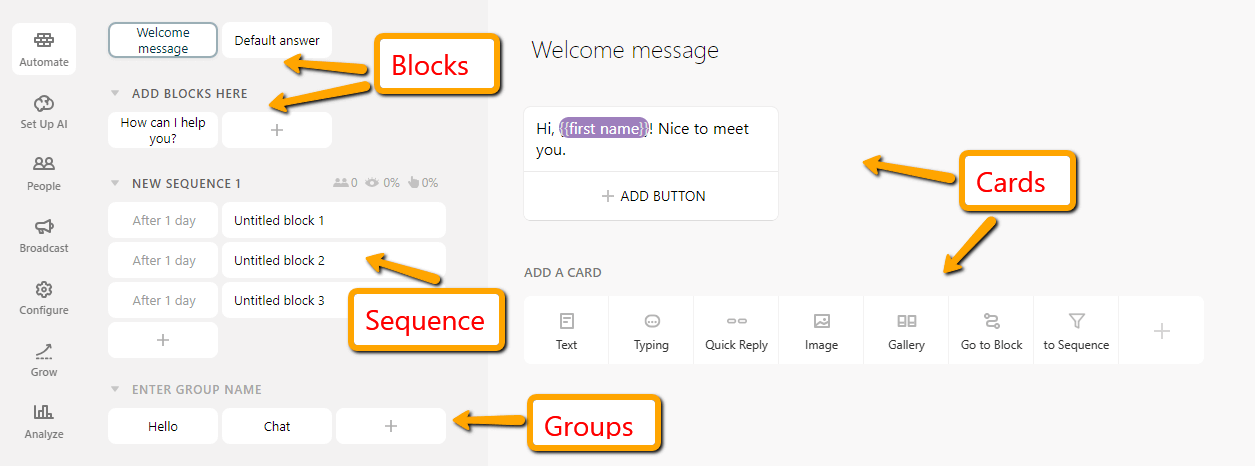
It uses the concept of blocks, cards, and groups.

Block is a collection of cards. this is the actual works flow. moving from one block to another block, or using AI run the block based on Keywords.
The Group is a collection of blocks, Groups are just for convenience to arrange blocks.
Configure the bot based on blocks – which block to run, when to run.
The Cards actually include your chatbot messages such as text, videos, gallery etc.
It provides a lot of integration options such as Zapier, RSS, Google Sheets, Calendar, WordPress, Slack, Twitter, Instagram, YouTube etc.
Set up AI is the feature that helps in setting up some control on NLP for your chatbot.
Based on keywords, Set Up AI helps your bot to reply to the messages sent by the users.
AI helps the bot to recognize the chat messages sent by the users.
Live Chat for Chatfuel allows your users to start the conversation with your page admin using your Facebook bot.
Broadcast:
Broadcast Block helps your bot to send messages now or schedule them for later.
- To deliver your message now then add the text in “Deliver Your Message Now” field.
- To send repeated content, daily as the user subscribes from RSS feedback, then add the text in “Add A Trigger”.
- To delay your message then add the text in “Schedule For Later”.
- Select a source from a social network account, an RSS feed, or a Google Sheet, etc – and add the text in “Autopost From External Sources”.
Welcome Message:
The “Welcome Message” is always shown to all new users after clicking on “Get Started” or when they send their first message.
Click on “Welcome Message” block and change the text of the welcome message.

Default Answer:
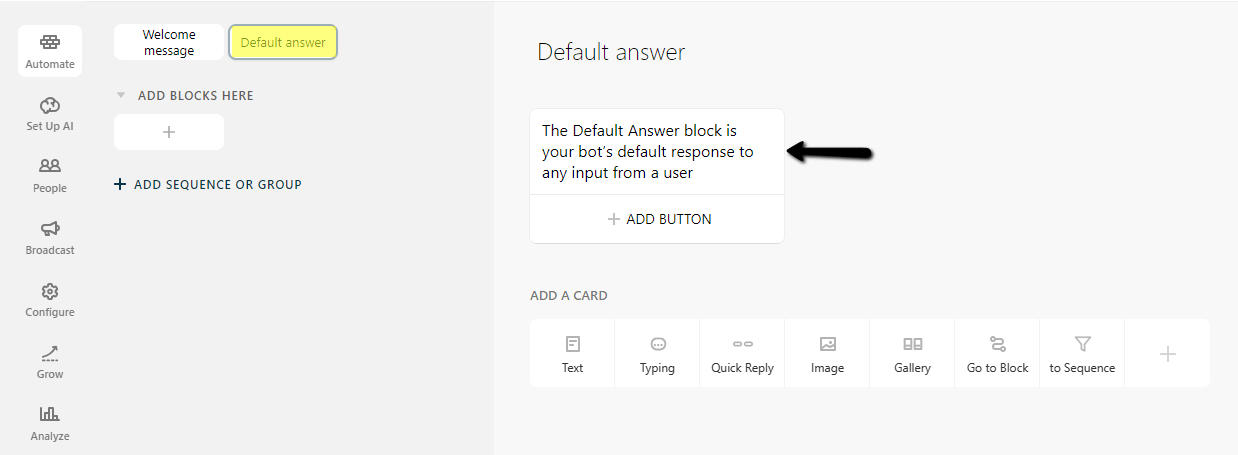
The “Default Answer” is like a homepage for your bot users.
This block is shown when a user sends any message that is not recognized by the “AI Setup”.
Click “Default answer” block and change the text of the default answer.

Connect the chatbot to Facebook page
Click on Configure -> Bot Publishing
Connect to Facebook Page.
