
Just like search engines help users in finding the necessary stuff with the relevant keywords, a search bar of a website helps its visitors in finding the required things on a website. It is not an exaggeration to say that every website requires a search bar. When a search bar is that important, let us find out, how to install a search bar on a wordpress website!
How to add a search bar on your website?
There are three different methods of adding a search bar to a website.
- From the widget panel
- Through a plugin
From the widget panel: The first method through which you can add a search bar to your site is through the widget panel in your site’s dashboard.
Tap on Appearance — Widgets — Search widget — Add widget — Set a title
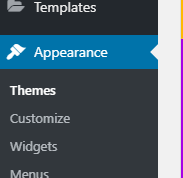
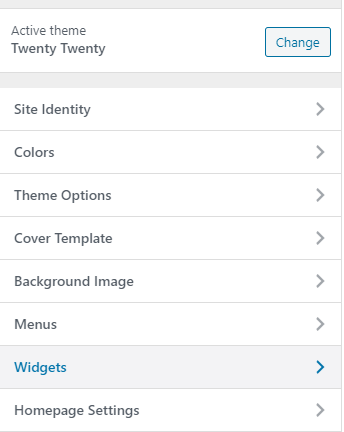
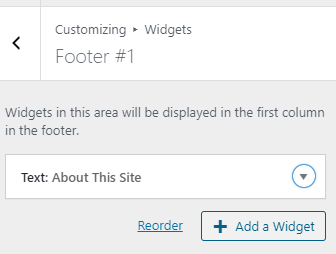
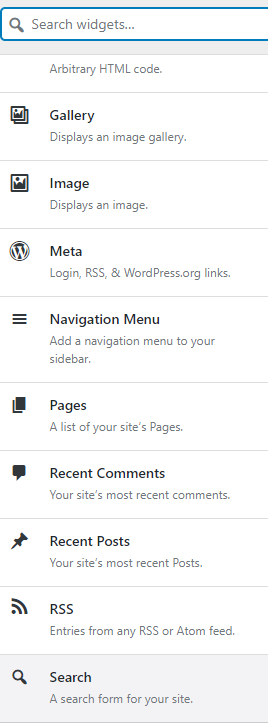
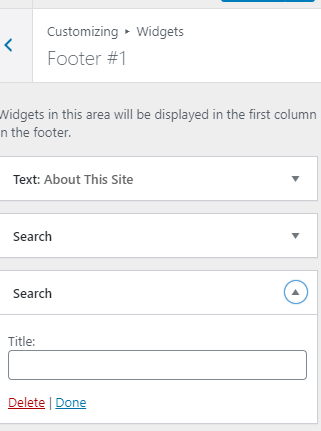
You will find the search widget on the sidebar of your site.
Through a plugin:
We all know that plugins make our lives simple without having to go for complicated coding. You can also add a search widget through a plugin and need no technical knowledge to do this task.
This is also an automated method. You won’t need coding or technical knowledge at all.
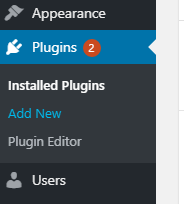
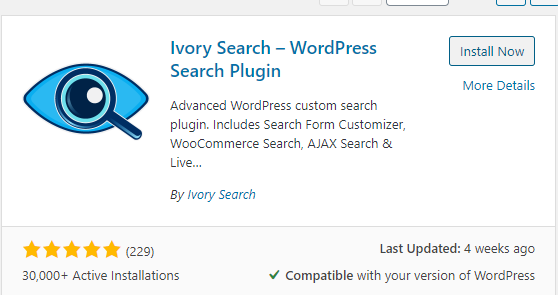
- Go to Plugins > Add New — Ivory Search — Install — Activate — Settings — Select posts and pages on which search bar should appear — Save Form

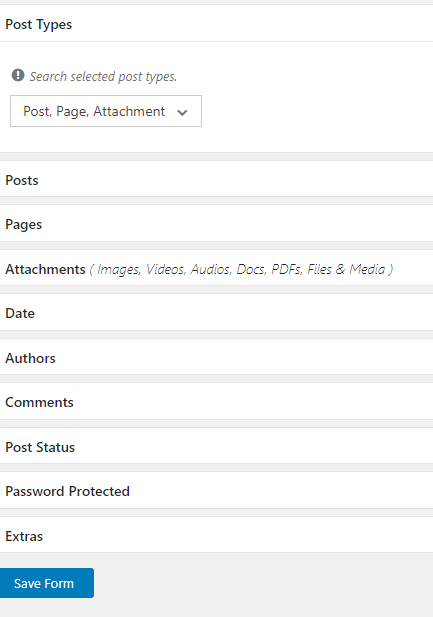
Ivory Search Plugin: Ivory Search is an advanced search plugin designed for WordPress that allows to create unlimited new search forms in a customized manner.
They can be configured to perform different types of searches for different types of content. Users can display the search bars on different areas of a web-page such as header, footer, sidebar, menus, pages, posts, etc.
Search bar forms crucial part of a web-page on varieties of websites from e-commerce to blog sites to search for products, pages and posts of a site.