Making changes to a WordPress website is part of everyday maintenance. You might install a new plugin, update WordPress, modify your theme, edit a child theme, or customize template files to achieve the look and functionality you want. Most of the time, everything works as expected, but occasionally a small mistake or an unexpected conflict can make a website unusable.
That is why creating a backup before making changes is one of the smartest habits any WordPress user can develop. Better still, storing that backup in the cloud ensures it remains available even if something goes wrong with the website itself.
This guide shows how to create a full website backup, store it in the free BackupBliss cloud, and use it later to restore or migrate your website.
Step 1: Install the Backup Migration Plugin

Begin by installing the Backup Migration plugin from the official WordPress Plugin Directory.
After activating the plugin, you can use it immediately. The default settings are already configured for most websites, so there is no complicated setup before creating your first backup.
Simply click “Create backup now”, and the plugin will generate a complete backup archive containing your website files, themes, plugins, uploads, settings, and database.
Step 2: Connect the Free BackupBliss Cloud
To store backups safely outside your website, create a free BackupBliss account.
Each account includes 1 GB of free cloud storage, making Backup Migration the first WordPress backup plugin to provide its own built-in cloud storage with a free tier.
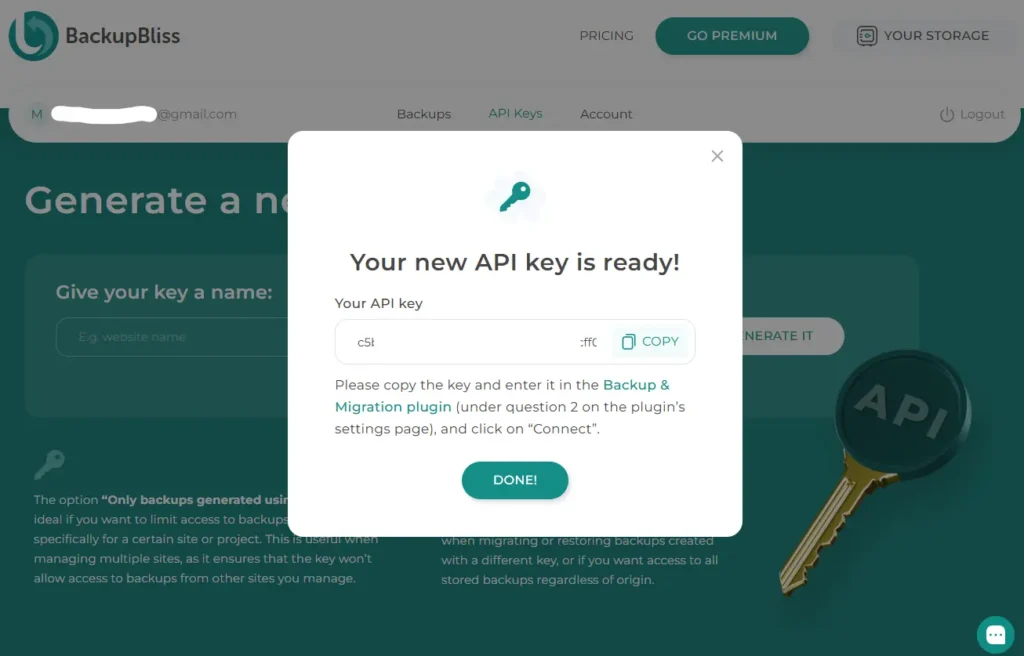
Once your account is created, generate an API key and return to the plugin.
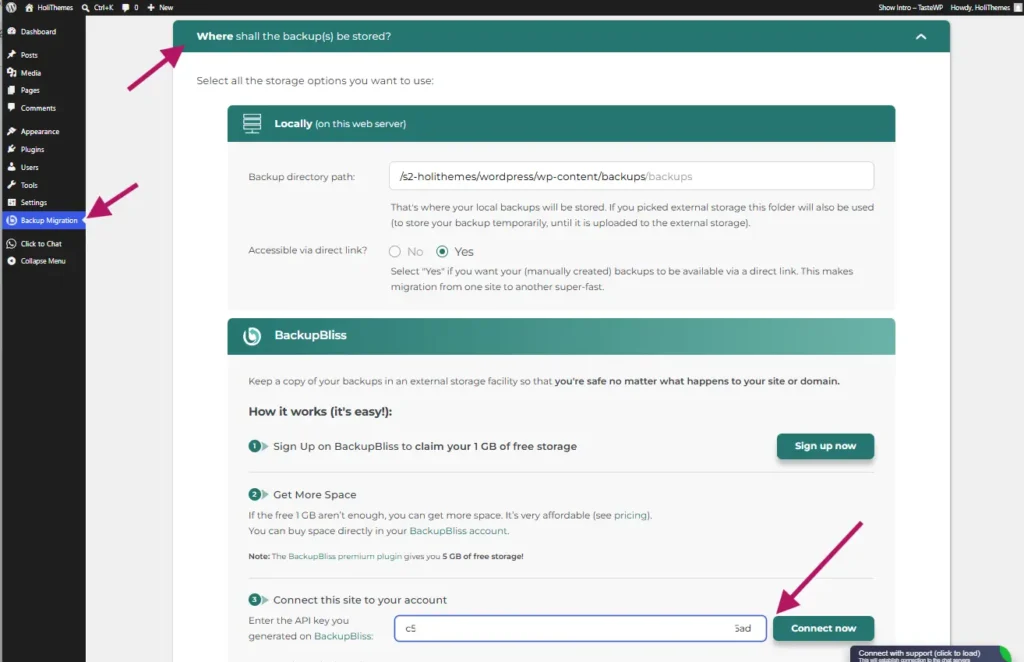
Open the section “Where shall the backup(s) be stored?”, select BackupBliss, and paste your API key. After the connection is verified, Backup Migration will be ready to upload backups directly to your cloud storage.
The premium version of Backup Migration includes an additional 5 GB of BackupBliss storage, and larger storage plans remain very affordable. If you need more space, 20 GB costs only $24.90 per year, making it an economical option even for multiple websites.
Step 3: Create and Upload Your Backup
With BackupBliss connected, creating an off-site backup takes only a click.
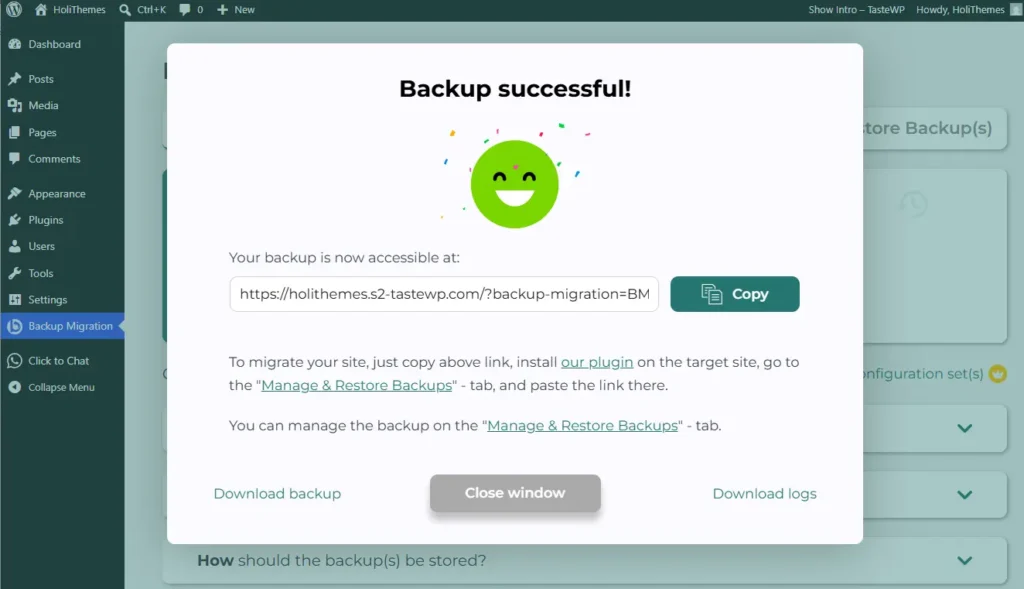
Press “Create backup now”, and once the backup archive has been generated, it will automatically synchronize with your BackupBliss cloud storage.
Your backup is now safely stored on the cloud, ready whenever you need it.
Brand new premium features in the plugin allow for backups to be directly created and streamed to the BackupBliss cloud storage, thus consuming no server space. This is an especially valuable feature to site owners who have low hosting server space available.
Step 4: Restore or Migrate Your Website
Cloud backups are not only useful for recovering from problems. They also make website migrations much simpler.
To move your website to another hosting provider or domain, first install a fresh WordPress instance on the destination server and activate the Backup Migration plugin there as well.
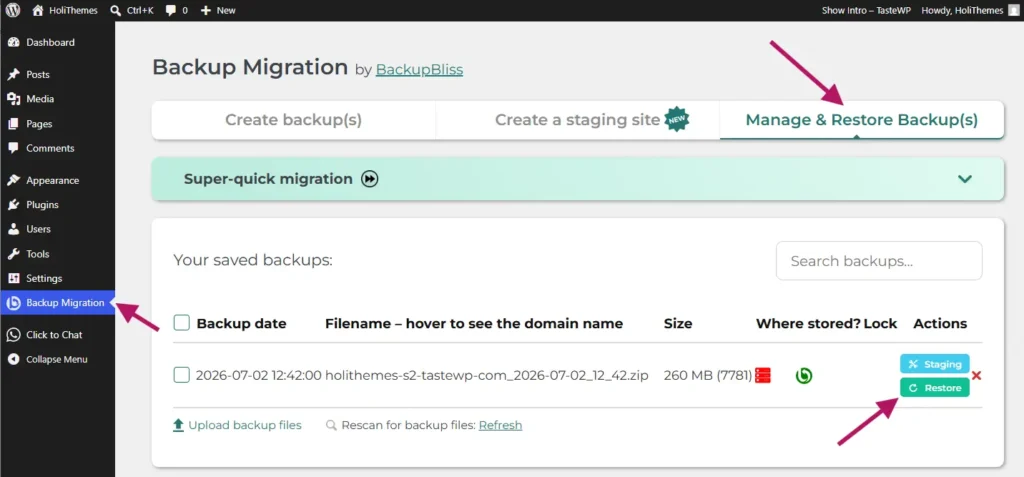
Connect the same BackupBliss account using your API key. Your cloud backups will immediately become available inside the “Manage & Restore Backup(s)” section.
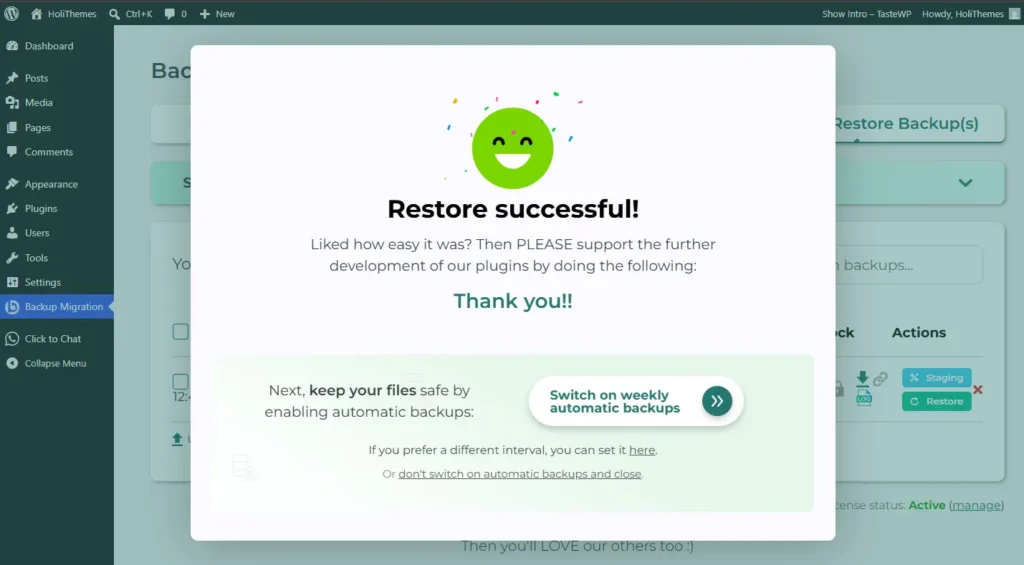
Select the backup you want to use and click “Restore.”
The plugin automatically restores your website and performs the database adjustments normally required during migration, eliminating any manual work involved in moving a WordPress site.
Conclusion
Whether you are experimenting with theme customizations, editing a child theme, preparing a redesign, or moving your website to a new server, having a recent cloud backup provides valuable peace of mind, as keeping backups in the cloud adds another layer of protection to your website maintenance routine.
With Backup Migration and its built-in BackupBliss cloud storage, creating, storing, restoring, and migrating WordPress backups becomes a simple process that takes only a few minutes to set up while helping keep your website protected whenever changes are made.