We can now set the Click to Chat widget display based on categories. Simply enter the category names, separated by commas ( , ).
Show the Widget Only on Selected Categories
To display the widget only on posts belonging to certain categories:
- Navigate to Click to Chat → Display → Pages → Page/Category Lists.
- Set Global Display to Hide.
- Locate Show on this Category posts (by name).
- Example:
WooCommerce, Styles
- Example:
- Click save Changes
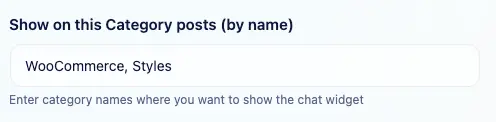
This setup hides the widget everywhere by default and shows it only on posts in the specified categories.
Hide the Widget Only on Selected Categories
To show the widget on most pages but hide it on posts from certain categories:
- Navigate to Click to Chat → Display → Pages → Page/Category Lists.
- Set Global Display to Show.
- Locate Hide on this Category posts (by name).
- Enter the category names where we want to hide the widget.
- Example:
Click to Chat Pro, Display Settings
- Example:
- Click Save Changes.
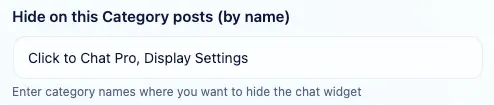
This setup enables the widget globally and excludes it only from the specified categories.
How to Find Category Names
From the WordPress Dashboard:
- Go to Posts.
- Find the post and check its category in the Categories column.
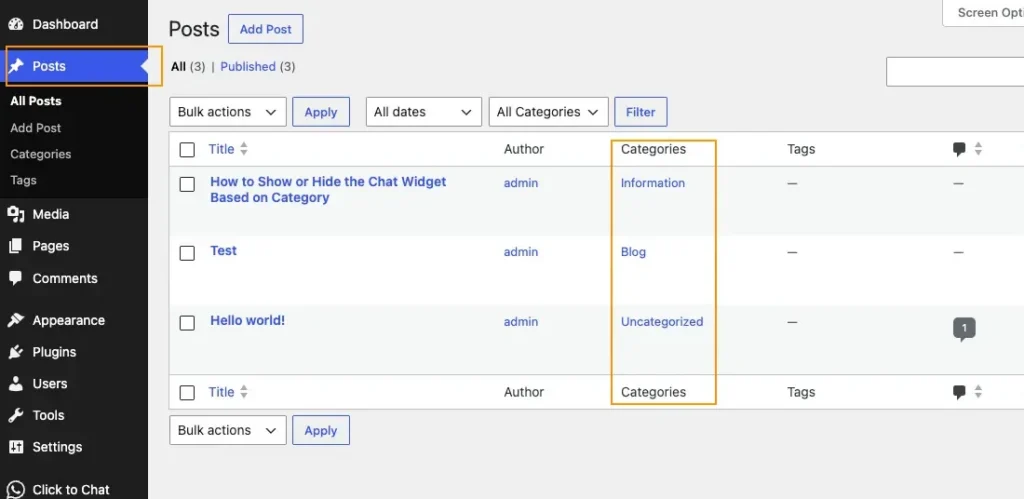
- Note down the category name exactly as it appears.
- Use that name in the Category section of Click to Chat to show or hide the widget.