The Click to Chat plugin allows us to display customized greeting messages on individual pages or posts. To achieve this, we can enable the Page-Level Greetings feature, which provides separate settings and templates for each post or page.
🔗 Included in the PRO plan — View Pricing
Enable Page-Level Greetings
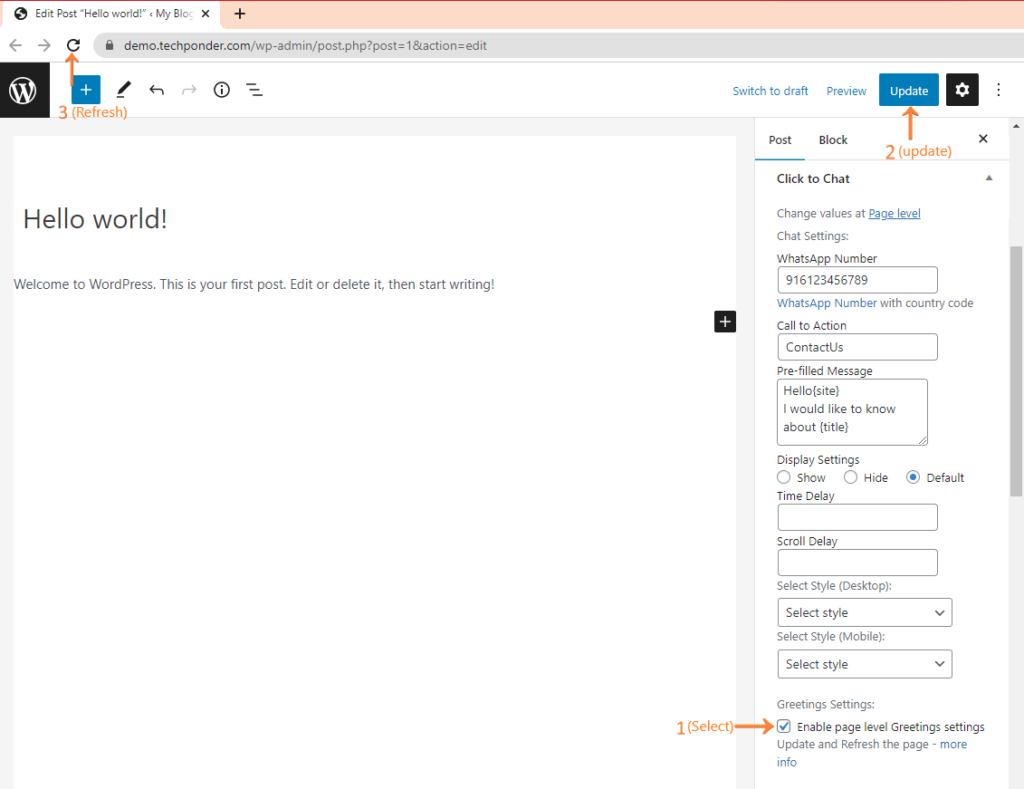
- Edit the desired post or page.
- Navigate to Settings → Click to Chat → Greetings Settings.
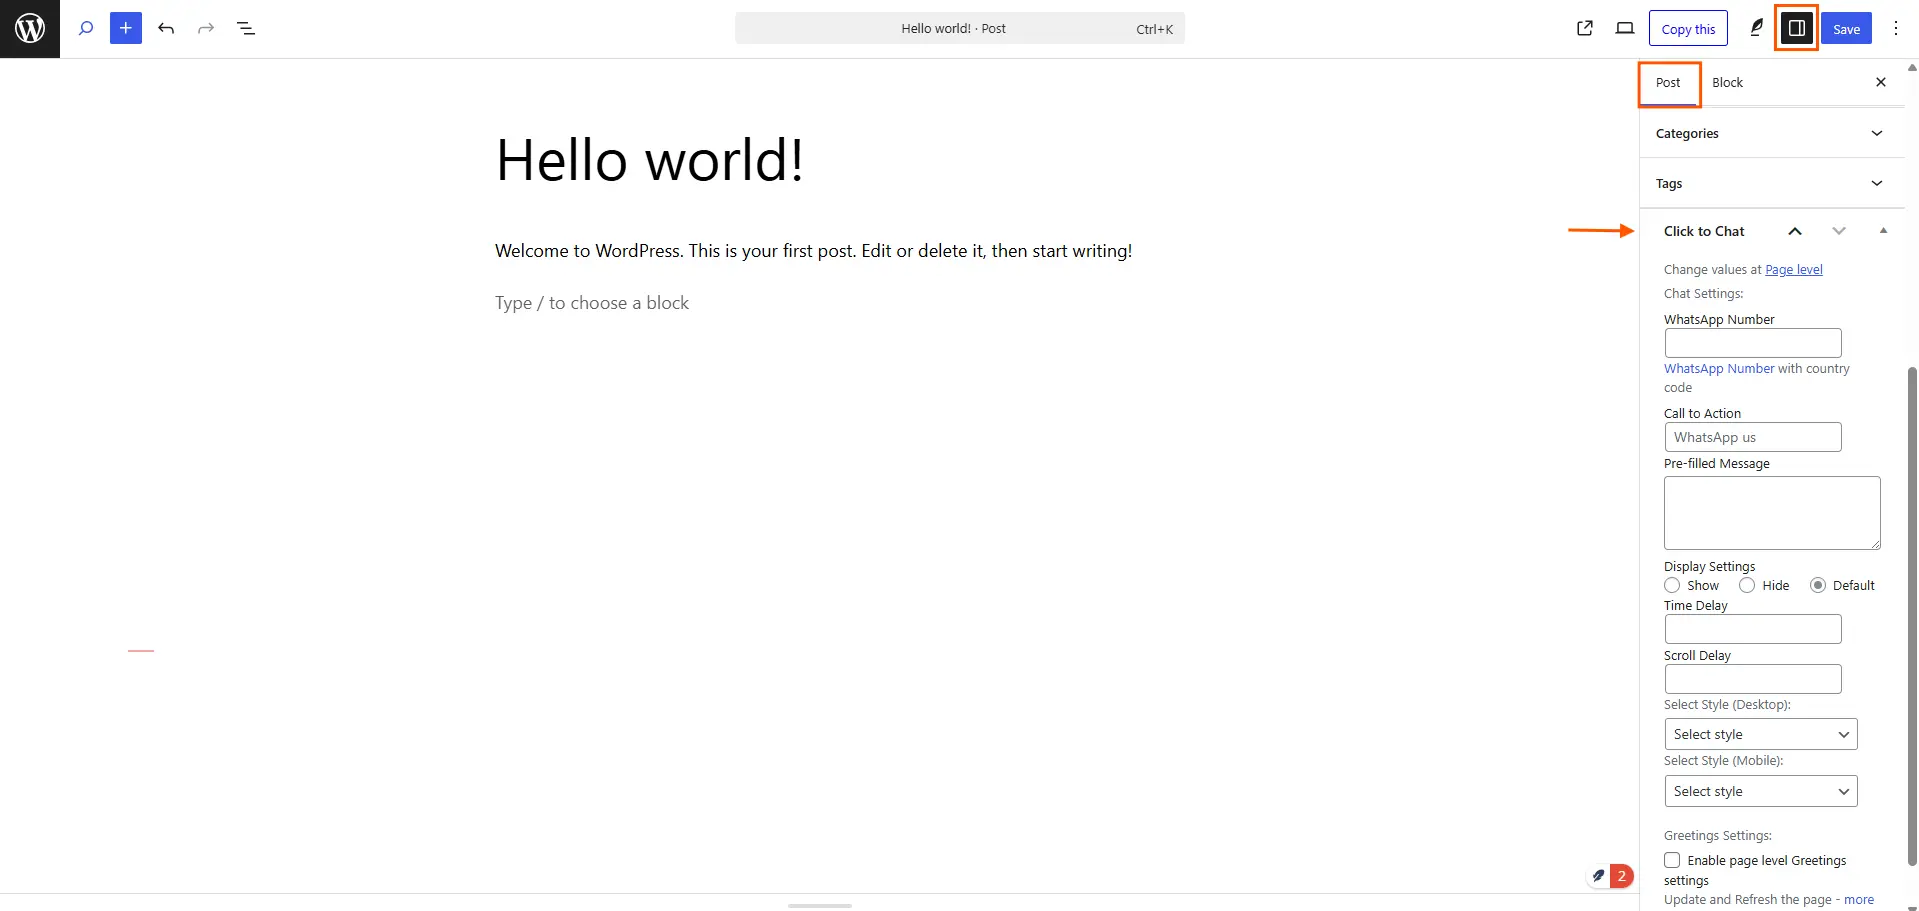
- Enable the option “Enable Page-Level Greetings Settings”.
- Update the post or page.
- Refresh the page to apply the changes.
Once enabled, additional customization options, including the Greetings Template dropdown and text editors, will appear for that specific post or page.
Greetings Template Options
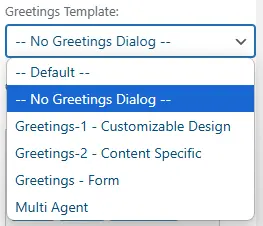
Default: Selects the greetings set globally at Click to Chat → Greetings. The page/post will use the same template configured in the plugin’s main settings.
No Greetings Dialog: No greeting message will be displayed. Only the WhatsApp button and its Call to Action will appear on the post/page.
Note: If any field is left blank, the plugin automatically pulls the corresponding value from the global Click to Chat settings.
Greetings Customization Fields
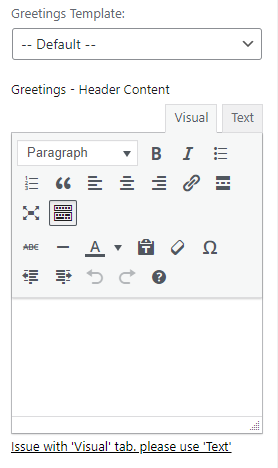
We can modify different parts of the greetings using the available text editors.
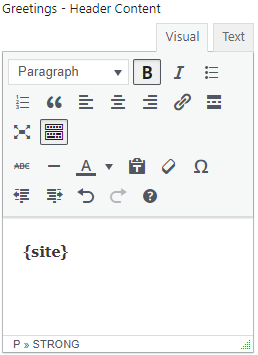
Greetings – Header Content:
Customize the header text of the greeting popup.
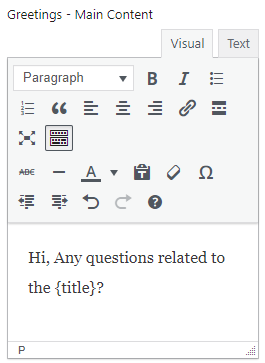
Greetings – Main Content:
Edit the main body text displayed in the greeting dialog.
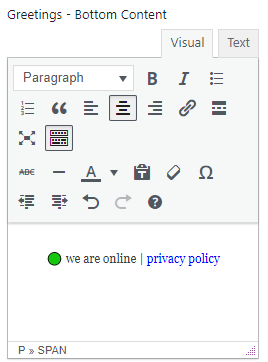
Greetings – Bottom Content:
Modify the text shown at the bottom of the greeting template.
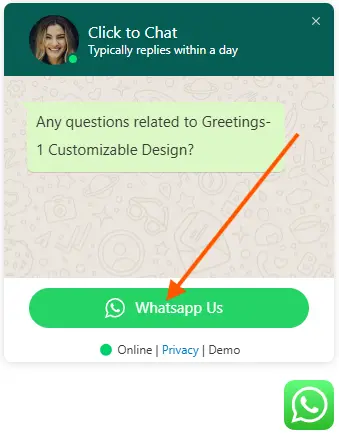
Greetings – Call to Action:
Update the call-to-action text to better engage and prompt users to initiate a WhatsApp conversation.
Text Editor Features and Tips
Each content area offers a visual editor for easy editing or a Text mode for adding custom HTML code if needed.

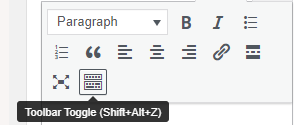
For additional formatting options, click the Toolbar Toggle icon in the text editor to reveal more editing tools.
With these Page-Level Greetings, we can personalize WhatsApp messages per page, making interactions more targeted and engaging.