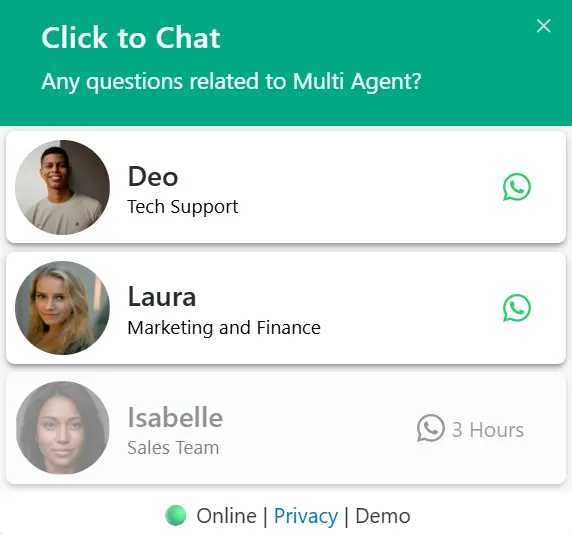
Route Visitors to the Right Team Instantly
Let customers choose exactly who they need — Sales, Support, Billing, or any department. No more mixed chats. No more internal forwarding. Just direct conversations that convert faster.
Custom Availability & Shift Control
Define working hours for every agent. Cover multiple shifts and time zones without confusion. Stay responsive 24/7 and never miss a high-intent customer.
Smart Offline Lead Protection
When agents go offline, your leads shouldn’t disappear. Control exactly what happens:
Protect every conversation — even outside business hours.
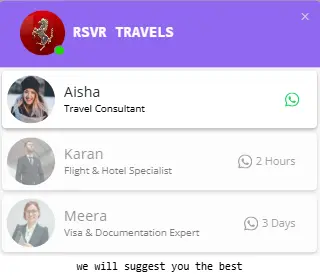
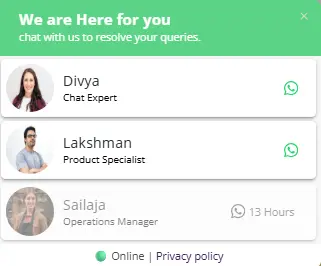
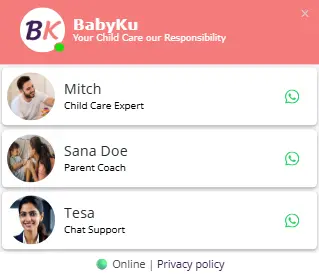
Build Trust with Real Agent Profiles
Add names, photos, roles, and custom greetings. When visitors see real people, they engage faster and convert more confidently.
Global Ready with Multilingual Support
Translate each agent’s profile with WPML or Polylang and serve customers worldwide without operational complexity.
From One Contact to a Fully Structured Team
Before: Simple one-click chat – everyone goes to the same contact.
Now: Smart selection – visitors connect with the right department instantly.
Set Up Multi Agent in Minutes
Add Agents
✨ Quick Setup
Schedule
⏰ Smart Timing
Configure
🔄 Enable/Disable
Customize
🎨 Beautiful Interface
Publish Now
🤝Agent Added
Perfect for Any Team Size or Industry
Global Support Teams
Time zone coverage with custom agent schedules. Perfect for international businesses with distributed teams.
Role-Based Communication
Let users choose who they talk to. Direct inquiries to the right department from the start.
After-Hours Support
Hide offline agents or queue chats, showing the agent’s next availability time for smoother interactions.
Engage Users at the Right Moment
Trigger greeting dialogs smartly – by time, scroll, click, or viewport – for better engagement.
View PricingTime-Based Trigger
Automatically display the greeting after a specified time delay. Perfect for giving users time to explore before offering assistance.
Scroll Trigger
Trigger the greeting when users scroll a certain percentage of the page. Ideal for engaging users who show interest by scrolling.
Click Trigger
Launch the greeting when users click specific elements like buttons, links, or images. Perfect for contextual help and targeted assistance.
Viewport Trigger
Display the greeting when specific content enters the user’s viewport. Great for section-specific assistance and progressive disclosure.
📐 Make It Fit Your Website Perfectly
💬 Place It Where It Converts Best
Choose how your greeting forms appear to users. Position them strategically for maximum engagement and user experience.
Corner Placement
Positioned next to chat button in bottom corner
Modal Overlay
Centered modal-style overlay
Real Conversations, Real Results
See how Multi Agent adapts to different brand styles with customizable colors and agent configurations.
Quick Answers Before You Get Started
Explore More Greeting Types
Choose the greeting style that fits your business needs.
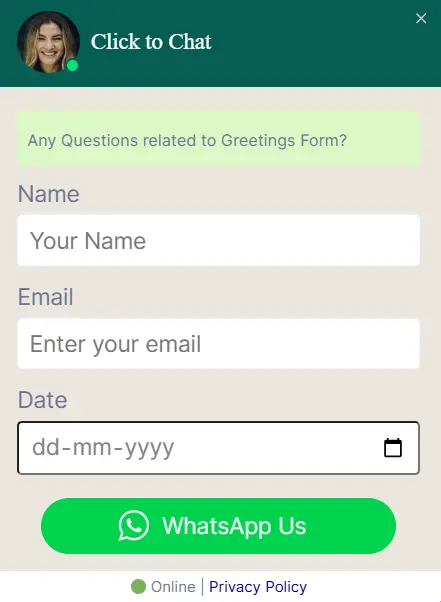
Greetings Form
PROCollect user details before starting WhatsApp chat.
Explore Pro Feature🚀 Start Converting Visitors into Customers Today
Join 700,000+ businesses already using greeting widgets to boost conversions and engage visitors.