By default, Business Hours settings in the Click to Chat plugin apply only to the floating chat icon/button. However, if we’re using WhatsApp buttons on WooCommerce Shop and Single Product pages, we can also apply these business hours rules there by enabling an additional setting.
🔗 Included in the PRO plan — View Pricing
Note: The WooCommerce settings will only appear if the WooCommerce plugin is active.
Example 1: Hide WhatsApp Button Outside Business Hours
To hide the WhatsApp button during non-business hours on WooCommerce Shop and Single Product pages
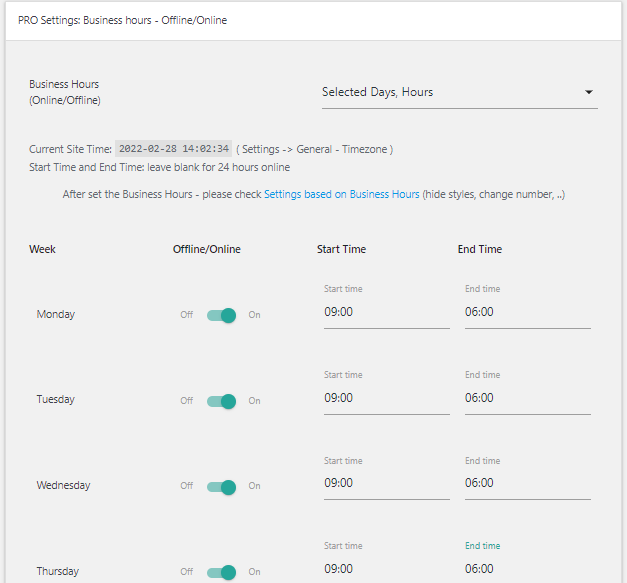
Set Business Hours
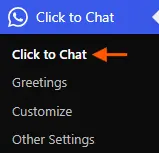
Navigate to Click to Chat → Business Hours – Offline/Online, and set the active business days and times.
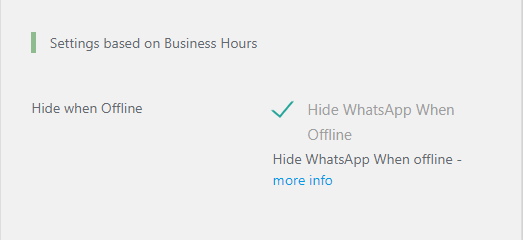
Enable “Hide When Offline”
Select the option Hide when Offline to prevent the button from displaying outside business hours.
Apply to WooCommerce
Go to Click to Chat → WooCommerce, scroll to Apply Business Hours Settings, and enable it.

Now, the WhatsApp button will be visible only during the selected business hours.
Example 2: Show Different WhatsApp Number and CTA When Offline
Instead of hiding the widget, we can show a different Call to Action and WhatsApp number during offline hours.
Set Business Hours
Go to Click to Chat → Business Hours – Offline/Online, and configure our active hours.
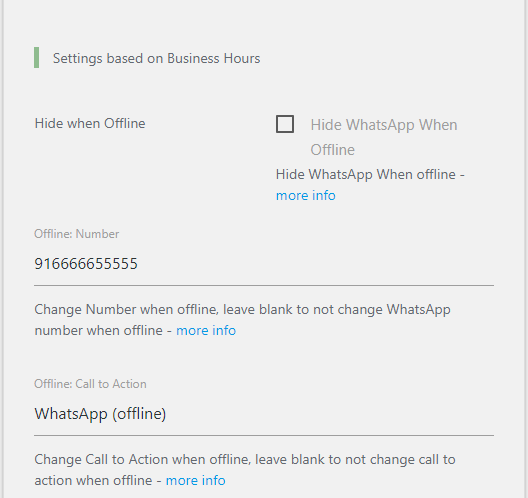
Customize Offline Details
Uncheck Hide when Offline, and add the offline WhatsApp number and offline Call to Action.
Apply to WooCommerce
Navigate to Click to Chat → WooCommerce, and enable Apply Business Hours Settings.
Now, the WhatsApp number and Call to Action will automatically update based on our business hours for WooCommerce product and shop pages.
Enabling Business Hours Settings for WooCommerce lets we control when the WhatsApp button appears. we can hide it after hours or show a custom message, helping manage customer expectations smoothly.
Related Links
Business Hours – Online/Offline
Add WhatsApp chat in WooCommerce Shop page
Add WhatsApp In WooCommerce Single Product Pages
Override WooCommerce Settings in Single Product Pages