We can manage where the styles appear by configuring the Display Settings and Override Settings. This guide explains how to show styles only on specific pages, posts, or categories.
Global Display Settings
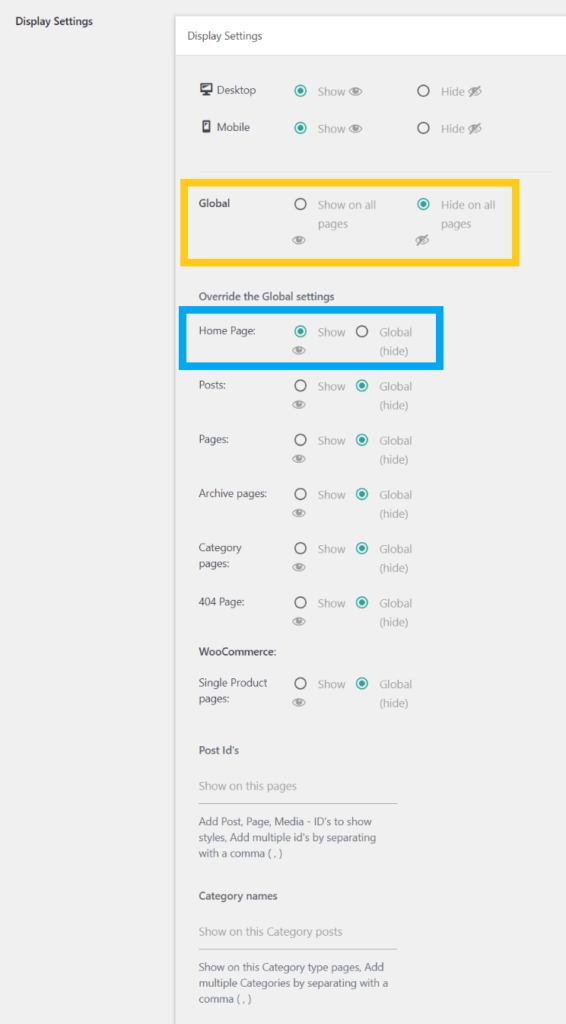
First, configure the base setting:
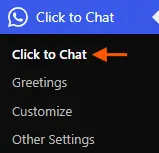
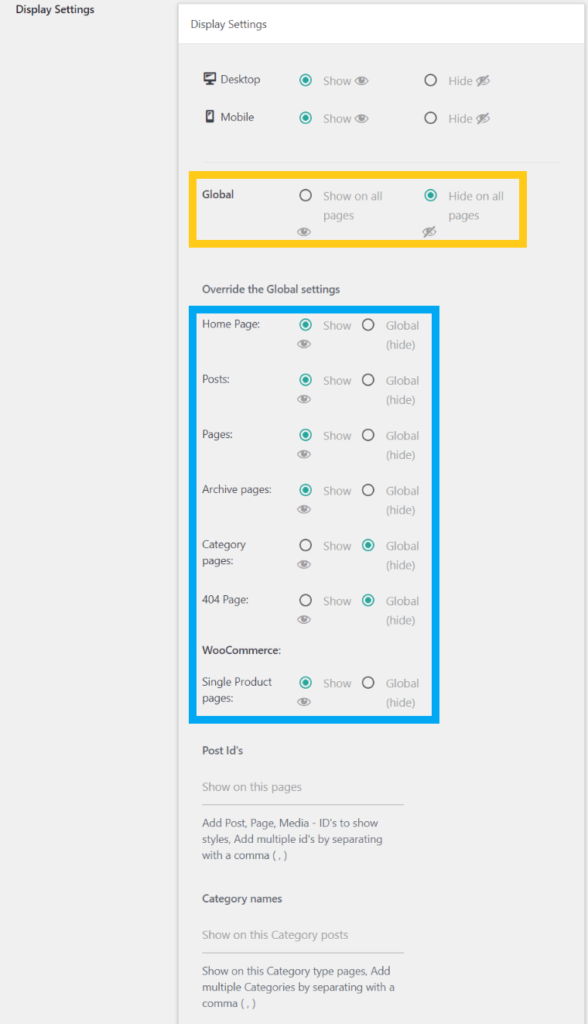
- Navigate to Click to Chat – Display Settings – Global and select “Hide on all pages”.
- This ensures styles are hidden everywhere by default unless specified otherwise.
Show on Selected Pages (Using Post IDs)
To display styles only on selected posts or pages:
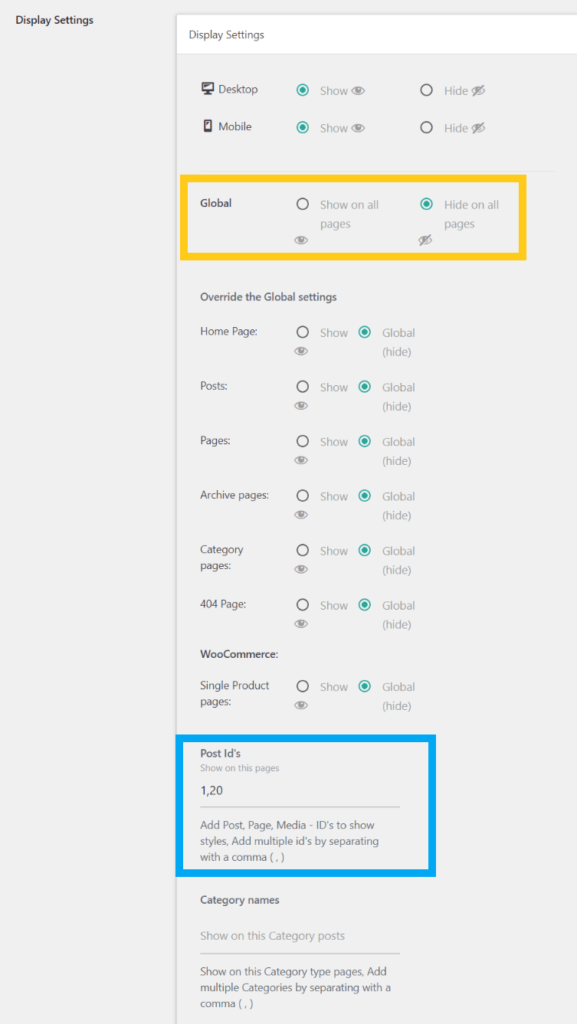
- In Override Settings, locate the Post IDs section.
- Add the IDs of the posts or pages where we want to show the styles.
- Separate multiple IDs with commas (e.g.,
1, 20, 35). – How to Find Post ID
Example:
Styles will be shown only for posts with IDs 1 and 20.
Need more detailed steps on showing the widget based on Post ID? Check out this Documentation
Show Only on a Specific Post Type
To show styles only on blog posts:
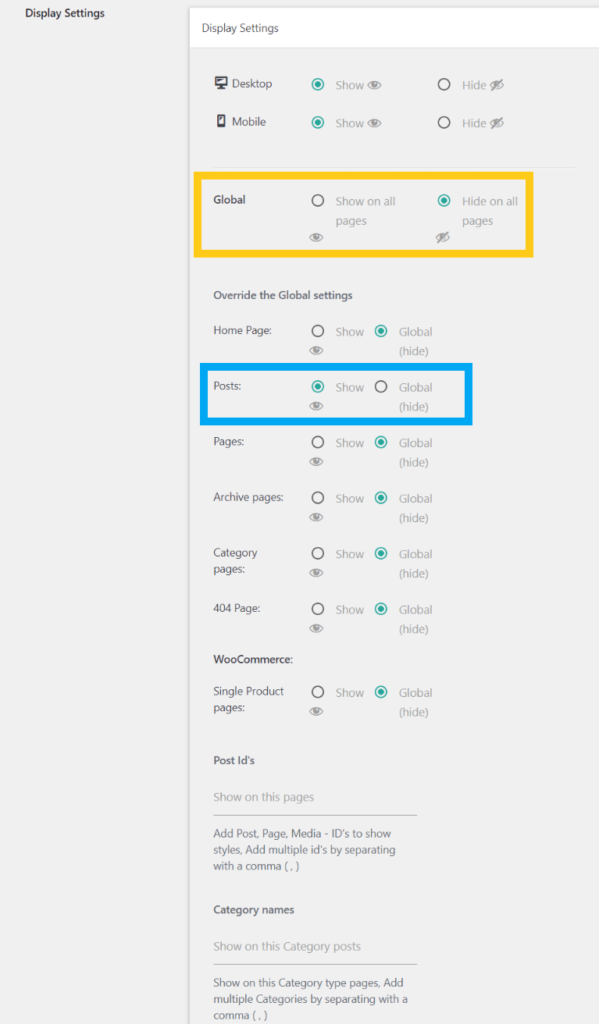
- In Global Settings, select “Hide on all pages”.
- In Override Settings → Posts, select “Show”.
To show styles only on pages:
- In Override Settings → Pages, select “Show”.
This ensures styles appear only on posts or pages based on our selection.
Show Only on the Home Page
To display styles exclusively on the home page:
- In Global Settings, select “Hide on all pages”.
- In Override Settings → Home Page, select “Show”.
Styles will be shown only on the home page and hidden elsewhere.
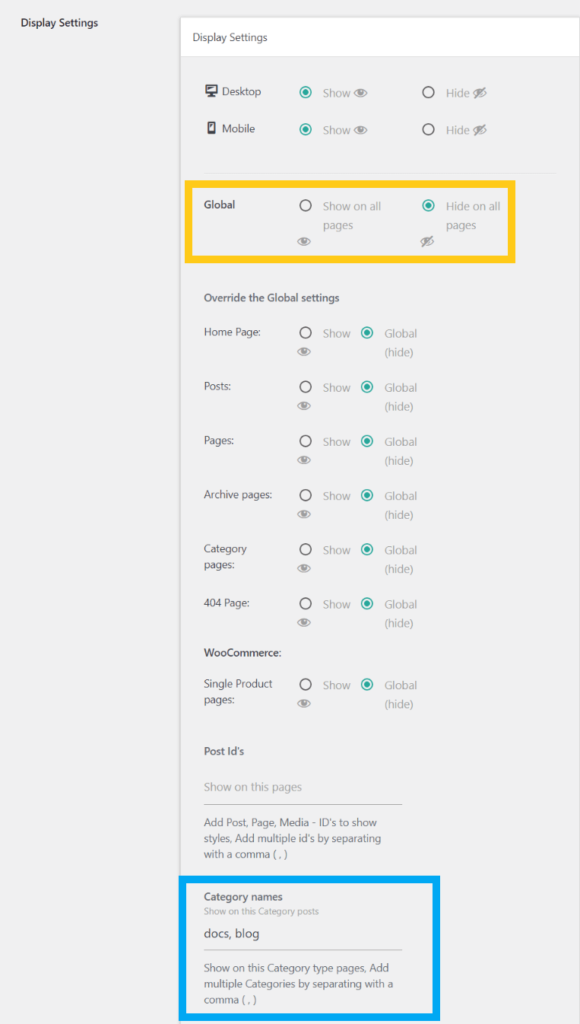
Show Based on Category
To show styles for posts in specific categories:
- In Global Settings, select “Hide on all pages”.
- In Override Settings → Category Name, add the category names where we want to display the styles.
- Separate multiple category names with commas (e.g.,
news, updates).
Example:
Styles will be shown on all posts under the categories: news, updates.
Show on Cart and Checkout Pages
To show styles on WooCommerce’s Cart and Checkout pages:
- Identify the post IDs of those pages.
- Add those post IDs to the “ID’s list to show” field in Override Settings.