The Click to Chat plugin provides various options to control the visibility of the WhatsApp widget or icon based on specific criteria. You can configure these settings in the Display Settings section.
Navigate to Click to Chat → Display.
The tab is organized into four sections:
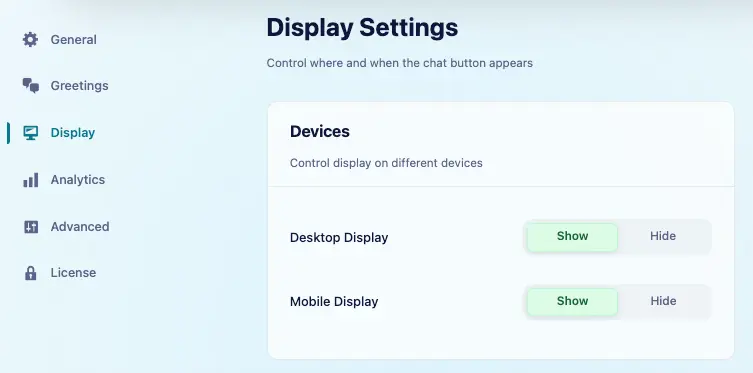
- Devices: Show or hide the widget on desktop and mobile devices.
- Pages: Set the default visibility and override it for specific posts and pages.
- Targeting (PRO): Control visibility by login status or country, and delay when the widget appears.
- Business Hours (PRO): Control the widget during online and offline hours.
Devices
Show or hide the icon on:
- Both Desktop and Mobile devices
- Only Mobile devices
- Only Desktop devices
Pages
The Pages section controls visibility on different pages and page types.
Note: Set Global Display to Show to display the widget across the website, or Hide to hide it. Page types set to Global follow this setting; choose Show or Hide to override it for a specific page type.
Global Display
Global Display is the default rule for the entire website:
- Select Show when the widget should normally be visible.
- Select Hide when the widget should normally be hidden.
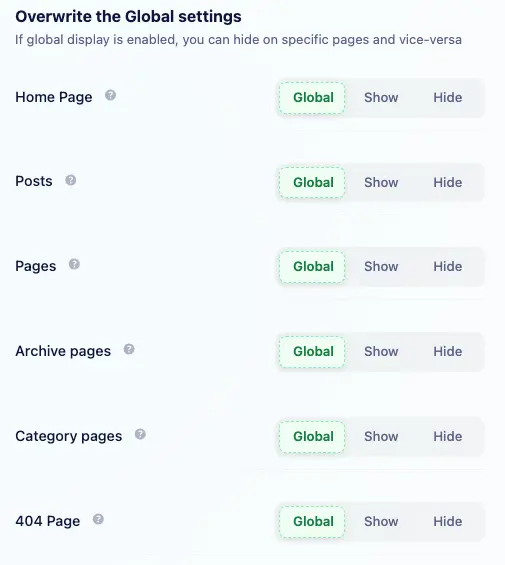
Overwrite the Global Settings
Use these controls when a page type needs different behavior from the global rule. Each option provides three choices:
- Global: Follow the Global Display setting.
- Show: Display the widget on this page type.
- Hide: Hide the widget on this page type.
The available page types include:
- Home Page: The front page of the website.
- Posts: Individual blog posts.
- Pages: Static pages such as About or Contact.
- Archive pages: Date, author, tag, and custom taxonomy archives.
- Category pages: Pages that list posts from a category.
- 404 Page: The page shown when a requested URL is not found.
WooCommerce Pages
When WooCommerce is active, the Display tab also provides separate controls for:
- Single Product Pages
- Shop Page
- Cart Page
- Checkout Page
- Thank You / Order Received Page
- Account Page
Select Global, Show, or Hide for each WooCommerce page type.
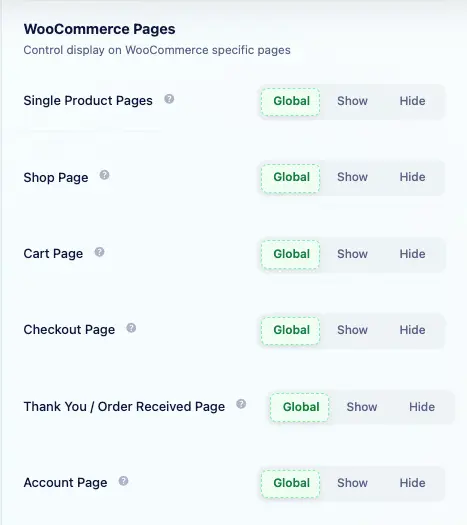
Display settings for WooCommerce pages
Page/Category Lists
Use the Page/Category Lists for more precise control. The fields displayed here depend on the selected Global Display rule.
When Global Display is set to Hide, enter the pages or categories where the widget should be shown.
When Global Display is set to Show, enter the pages or categories where the widget should be hidden.
Page ID
- Show or hide individual posts and pages by entering their IDs, separated by commas.
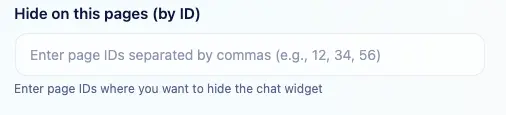
Show or hide the widget by Page ID
Category Names
- Show or hide posts in specific categories by entering their WordPress category names, separated by commas.
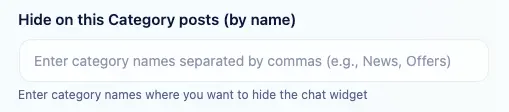
Show or hide the widget by category
Custom Post Types
If the website has public custom post types, they appear in this section automatically. Set each custom post type to Global, Show, or Hide.
Targeting (PRO)
The Targeting section controls who sees the widget and when it appears.
Display Based on User Login Status
- Display the WhatsApp icon for:
- Logged-in users only
- Logged-out users only
- Both logged-in and logged-out users
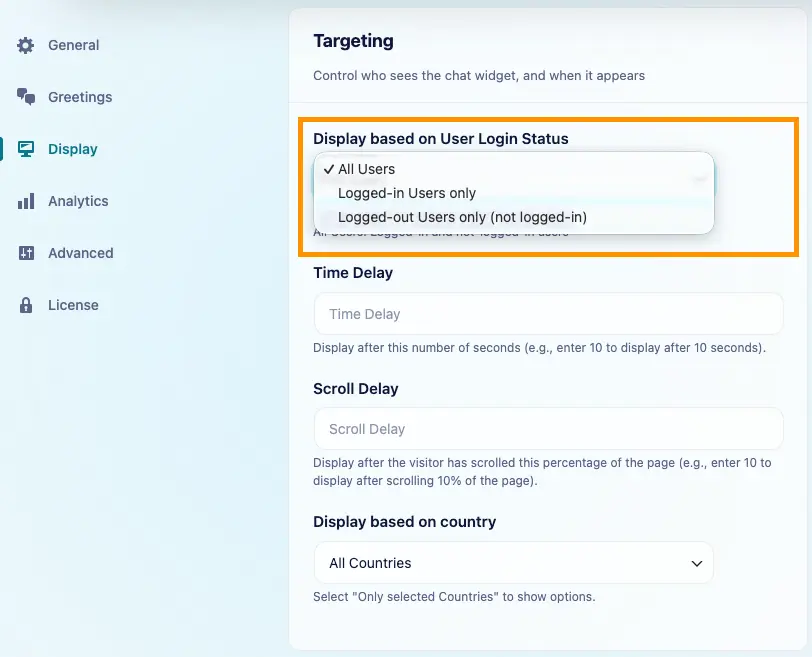
Display based on Website Visitor Login Status
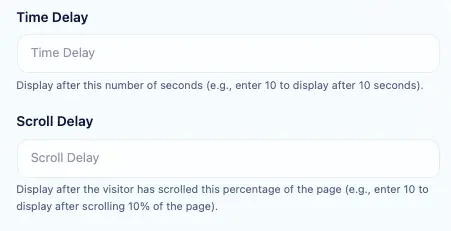
Time and Scroll Delay
Time Delay: Enter the number of seconds to wait before displaying the widget. For example, enter 10 to display it after 10 seconds. Leave the field empty when no time delay is required.
Scroll Delay: Enter the percentage of the page a visitor must scroll before the widget appears. For example, enter 50 to display it after the visitor scrolls through 50% of the page. Use a value from 0 to 100, or leave the field empty when no scroll delay is required.
Display Based on Country
- All Countries: Do not restrict the widget by country.
- Only selected Countries: Display the country selector and choose the countries where the widget should appear.
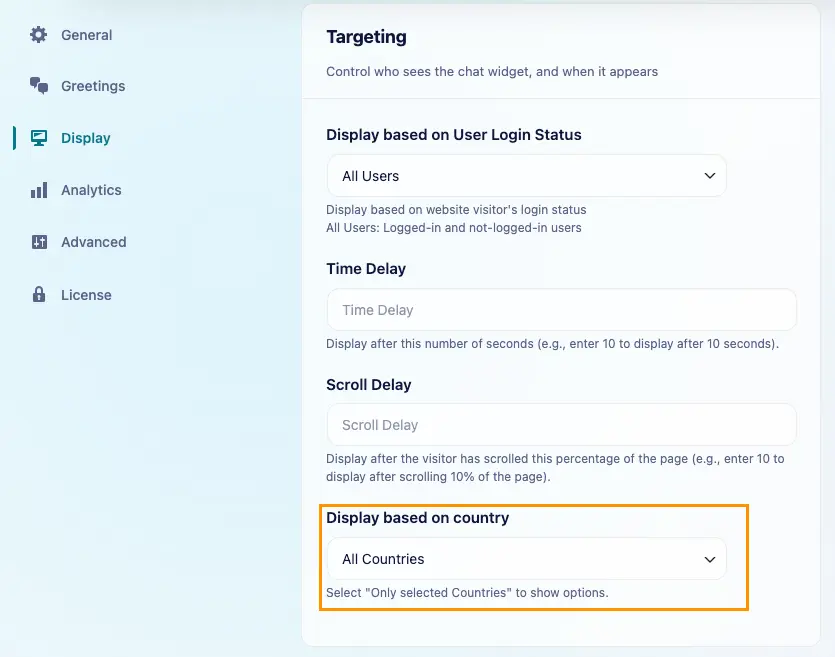
Country targeting works together with the device and page visibility rules. A visitor must match all configured rules before the widget can appear.
Business Hours (PRO)
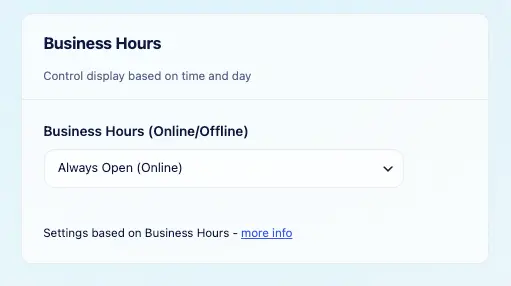
Use Business Hours to control the widget according to the website’s working days and hours.
- Always Open (Online): Keep the business online without a schedule.
- Selected Days, Hours: Set one or more working time ranges for each day.
The schedule uses the timezone configured under WordPress → Settings → General → Timezone. Check the current site time shown in the Business Hours section before entering a schedule.
Offline Behavior
- Enable Hide WhatsApp When Offline to hide the widget outside business hours.
- Leave it disabled to keep the widget visible while offline.
- Optionally enter an Offline Number and Offline Call to Action. Leave either field empty to continue using its default value.
Business Hours – Online/Offline
Greetings Actions(PRO)
Use Actions to trigger personalized greetings based on specific user behaviors, such as time, scroll, click, or when elements enter the viewport. This feature boosts user engagement and interaction.
- Click: Display the greeting when users click on an element (Add
ctc_greetingsclass to any element). - Viewport (PRO): Show greetings when an element with the
ctc_greetings_nowclass enters the viewport. - Time Action: Display greetings after a set time delay.
- Scroll Action: Trigger greetings when users scroll to a certain part of the page.
Greetings Actions – Time, Scroll, Click, Viewport
Default Settings
- By default, the WhatsApp icon is visible globally on all pages for both Desktop and Mobile devices.
- You can override these global settings by navigating to the “Override Global Settings” section.
We can Adjust the options as needed to control where and how the WhatsApp icon appears on your website.
Tip:
- Start with Global Display and then add only the exceptions you need. This keeps the rules easier to understand and maintain.
- In the Click to Chat Meta Box, choose Show, Hide, or Default for an individual post or page, and configure Time Delay and Scroll Delay (PRO).
Related Guides
Show the widget only on selected pages
Hide the widget only on selected pages
Show or hide the widget on mobile and desktop