Unlock the full potential of your website by seamlessly integrating custom code with our comprehensive instructions.
The Click-to-Chat plugin includes Built-in options for CSS customizations, allowing users to easily modify styles directly. For detailed guidance,
Check Out this Documentation: Click to Chat Custom CSS process
However, if you need to add specific JavaScript, HTML, or PHP code snippets, we recommend using dedicated code snippet plugins. Below are two suggested plugins for this purpose and a step-by-step guide to installing and activating them.
- Header Footer Code Manager – By DraftPress
- WPCode – Insert Headers and Footers + Custom Code Snippets – WordPress Code Manager – By WP Code
Adding Custom Code Using the Header Footer Code Manager Plugin
- Log in to Your WordPress Admin Dashboard
- Install the Header Footer Code Manager Plugin:
- From the left-hand menu, navigate to Plugins and click Add New.
- In the search bar, type “Header Footer Code Manager” and press Enter.
- Click Install Now next to the plugin in the search results.
- Once installation is complete, click Activate.

3 Access the Header Footer Code Manager Plugin:
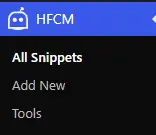
- After activation, you will see HFCM listed in the dashboard menu. Click on it to open the plugin settings.

4 Add a New Snippet:
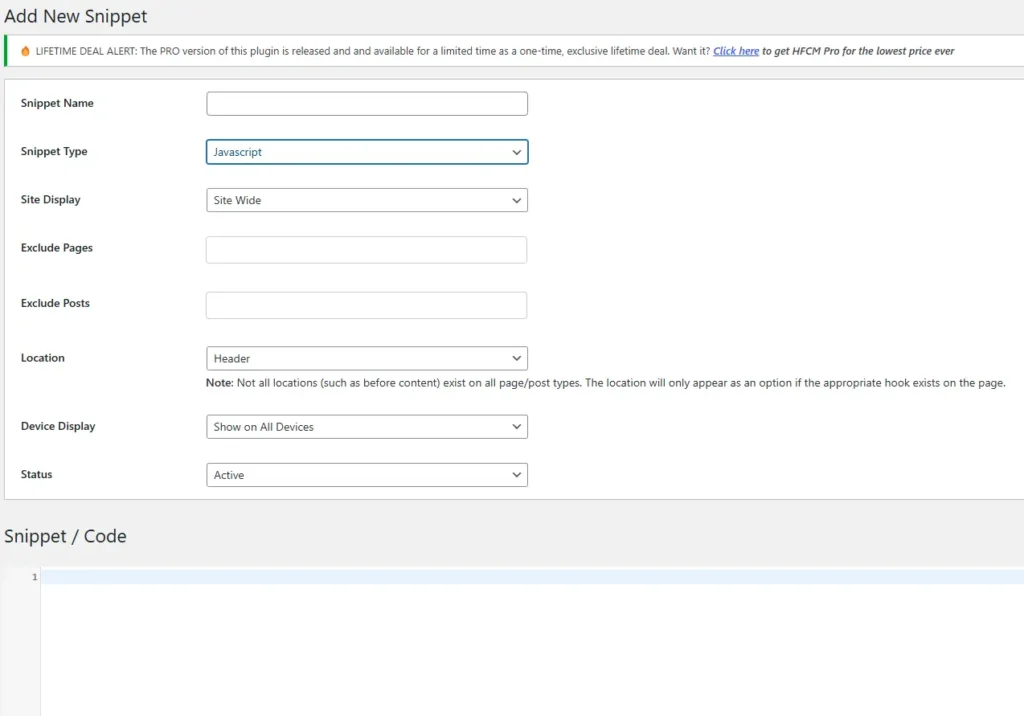
- Click Add New to create a new code snippet.
- Provide a snippet Name, select the Type (e.g., JavaScript, HTML, PHP), and set the Display options.
- Choose the appropriate location (Header, Footer, etc.) and specify the Device Display (Desktop, Mobile, or All Devices).

5 Insert Your Custom Code:
- In the Snippet/Code Section, add your custom code (JavaScript, HTML, or PHP).

6 Save and Preview:
- Once you’ve added your code, save the changes. The custom code will now be displayed based on your specified settings (e.g., location and device display).
Adding Custom Code Using the WPCode – Insert Headers and Footers + Custom Code Snippets – WordPress Code Manager
- Log in to Your WordPress Admin Dashboard
- Install the WPCode – Insert Headers and Footers + Custom Code Snippets – WordPress Code Manager
- From the left-hand menu, navigate to Plugins and click Add New.
- In the search bar, type “WPCode – Insert Headers and Footers + Custom Code Snippets – WordPress Code Manager” and press Enter.
- Click Install Now next to the plugin in the search results.
- Once installation is complete, click Activate.

3 Access the Header Footer Code Manager Plugin:
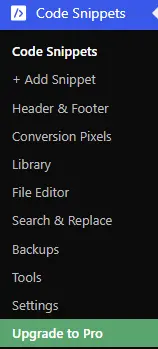
- After activation, you will see Code Snippets in the dashboard menu. Click on it to open the plugin settings.

4 Choose Where Your Code Will Be Visible on the Front-End
Select Display Location:
- Decide where you want your custom code to appear on the front-end of your website. This can be in the Header, Footer, or in a specific section of a page.
Set Device Visibility:
- Specify whether the code should be visible on Desktop, Mobile, or All Devices.

5 Add Your Custom Code (JavaScript, HTML, CSS, PHP, and More)
Choose Code Type:
- Select the type of custom code you need, such as JavaScript, HTML, CSS, or PHP.
Insert Your Code:
- Paste your desired custom code into the snippet section and save it. The code will be executed based on your selected display and device settings.

6 Front-End Visibility Based on Preferences
- The written code will be visible on the front-end of your website according to the preferences you set for location and device visibility.